This is just about one of the easiest wood mosaics I’ve ever made. And now you can make it, too! It’s made with a bunch of strips of wood that I painted with cheap craft paint. It doesn’t cost a lot, and there aren’t any complicated cuts in this geometric wood art. Let’s get started so you can make your own easy wood mosaic wall art.
Project Overview
- Difficulty: Easy – Moderate
- Time: 2-3 hours
- Cost: Varies. $15 – $25
Wood Mosaic Wall Art Supplies
- 24 Wood Strips, .75″ wide, 13″ long, .25″ thick
- Plywood backer board, 13″ x 17″ to start. But finished it will be 12″ x 16″
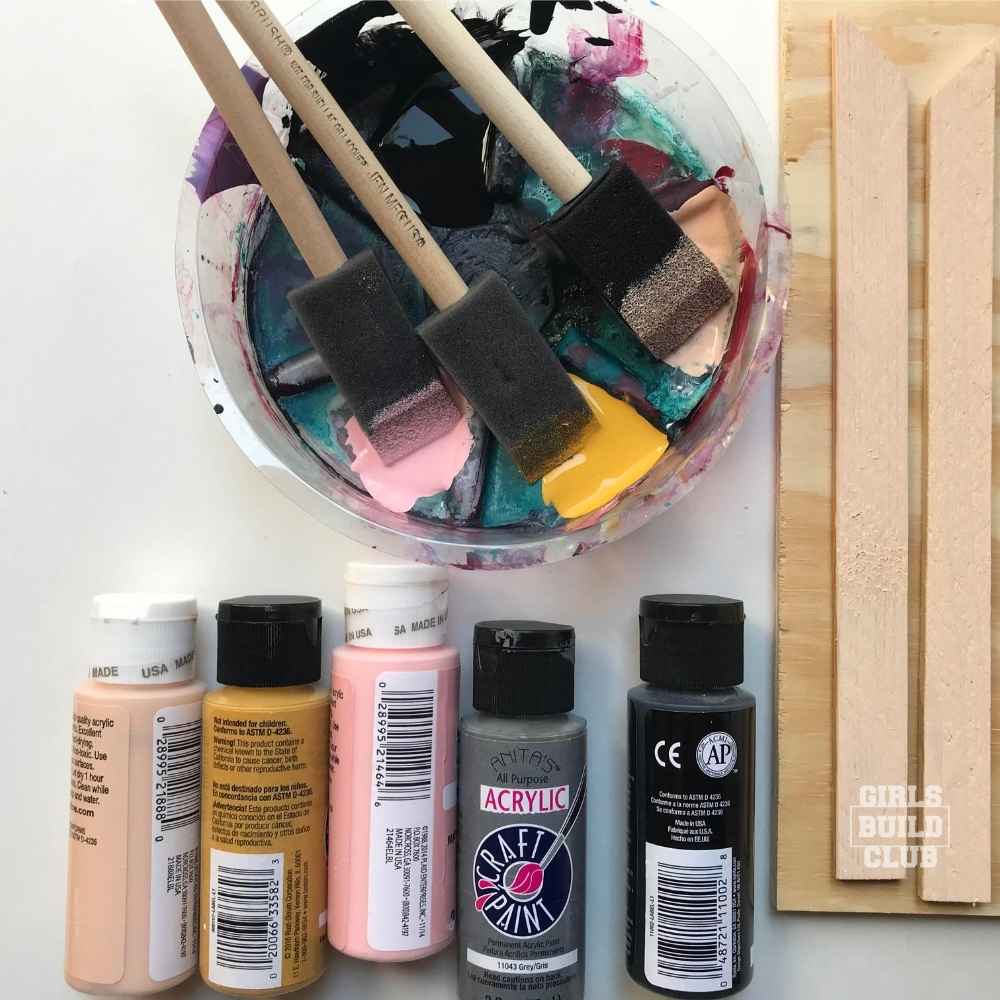
- Craft paint or stain
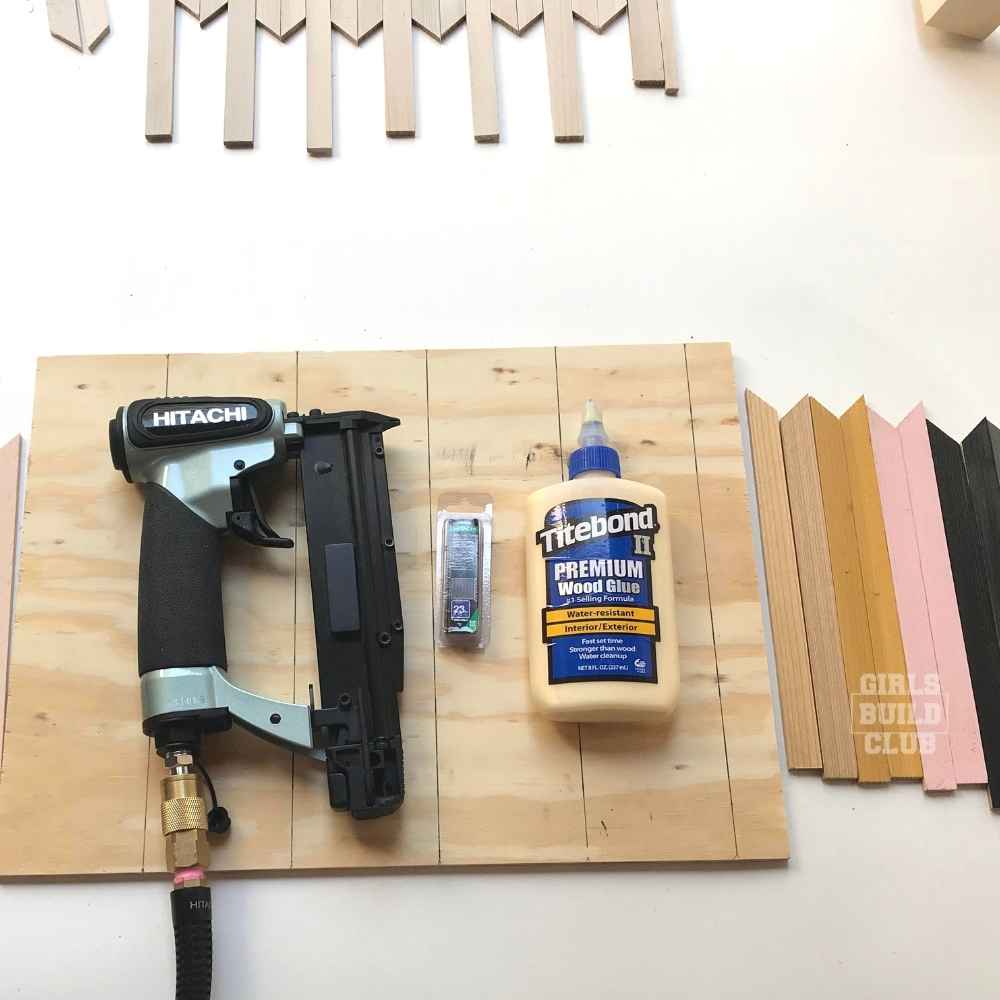
- Wood glue
- optional: Pneumatic nail gun nails. I used a pin nailer which takes 23 gauge pin nails, the smallest kind available.
- optional: Wood Frame or make your own.
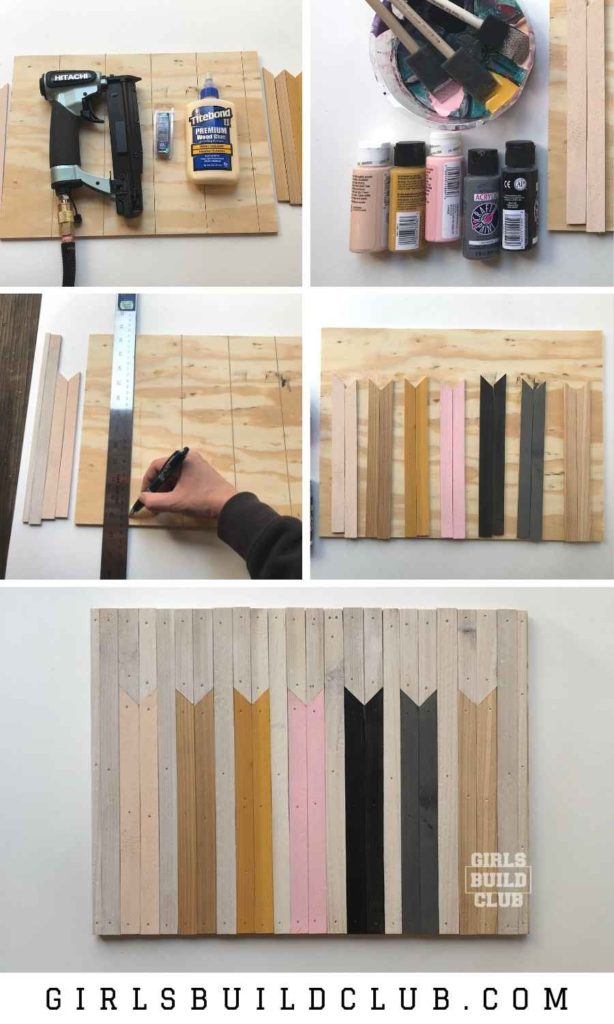
1. Cut Your Wood Strips
I had some leftover lath wood strips which are used for making lattice panels.
Lath wood strips are very thin and narrow, at about 1.5 in wide x .25 in. thick. Lath is typically pine or cedar.
I ripped the lath strips down on a table saw to 1/2 inch wide strips.
Then I cut them to 13 inches long. A little longer than I needed because it allows me to trim it perfectly at the end.
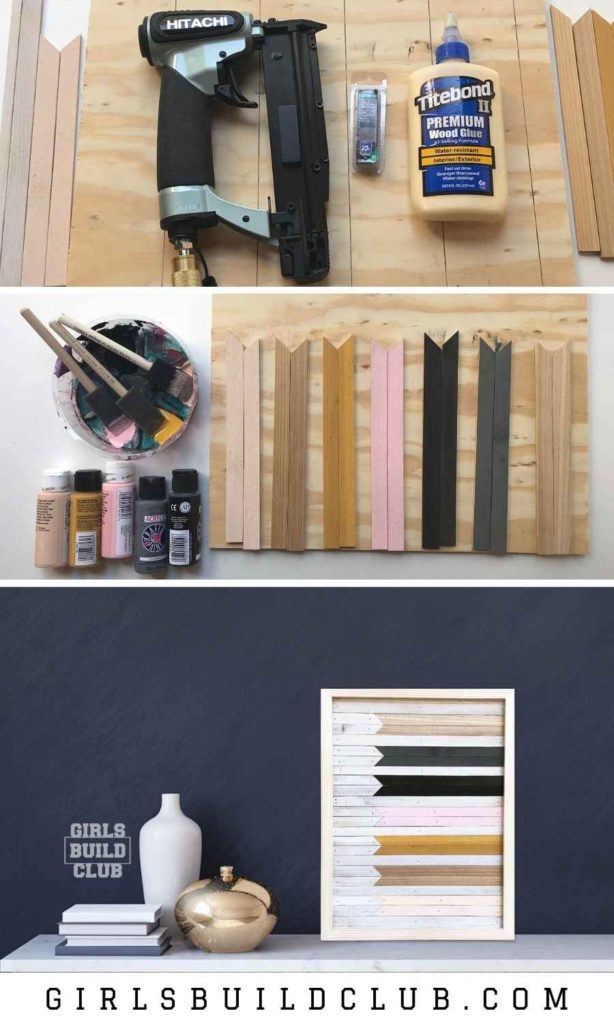
Now cut 14 of those strips at a 45 degree angle, in the same exact spot, about 3.5 inches in.
You’ll end up with 14 long pieces and 14 short pieces.
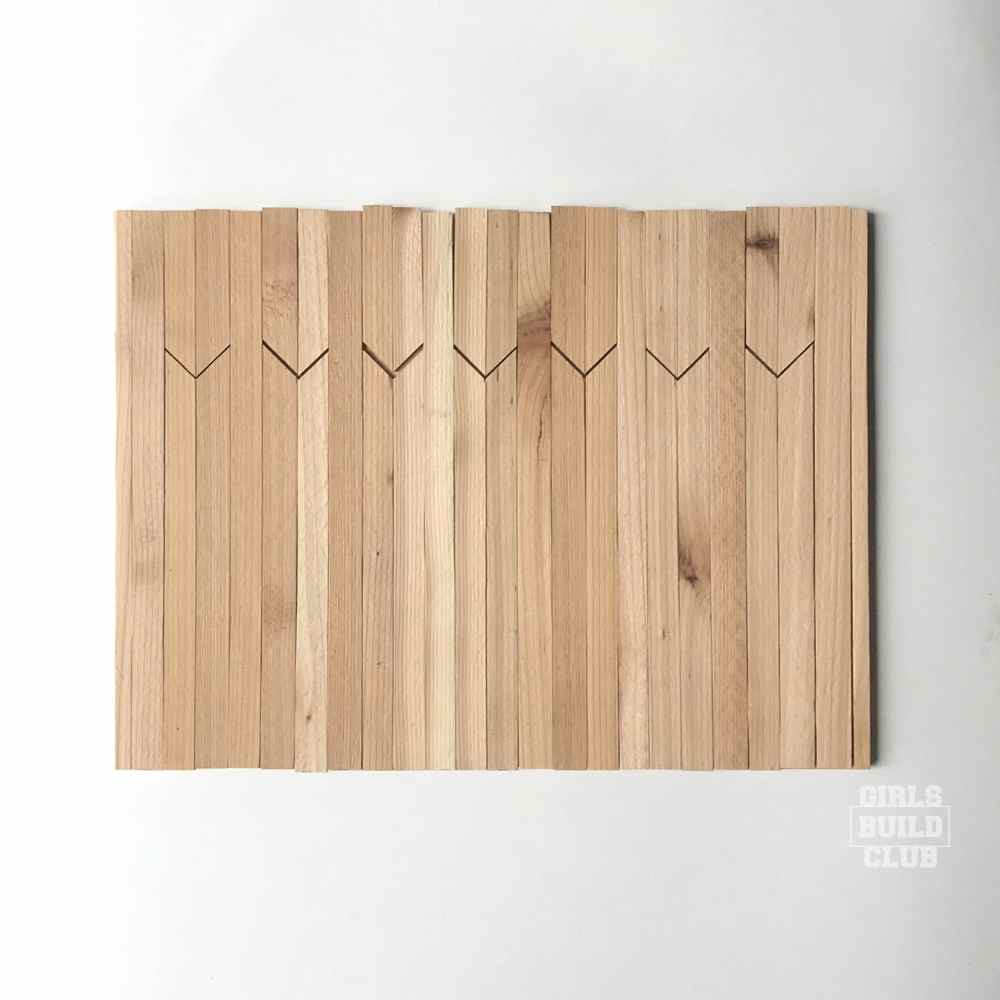
In total, you’ll have 10 straight regular strips, 14 short angled strips, and 14 long angled pieces. Just like you see in the photo above.
Don’t worry if they aren’t exactly the right length. You can trim it perfectly after gluing down the pieces. The important part is keeping consistent placement on the board.
Like in this case, we want those angled cuts to match up at the same level all across the board. But length doesn’t matter so much because we can trim the finished product on a table saw afterwards.
2. Sand the Wood Strips
I typically end up doing this both before and after cutting them to size.
Sanding sponges are very handy little tools for this job.
3. Paint the Wood!
I rarely use anything other than those cheap $0.99 bottles of craft paint you can find at Walmart or Hobby Lobby.
Sometimes I water down the paint a bit so you can see the wood grain through the paint.
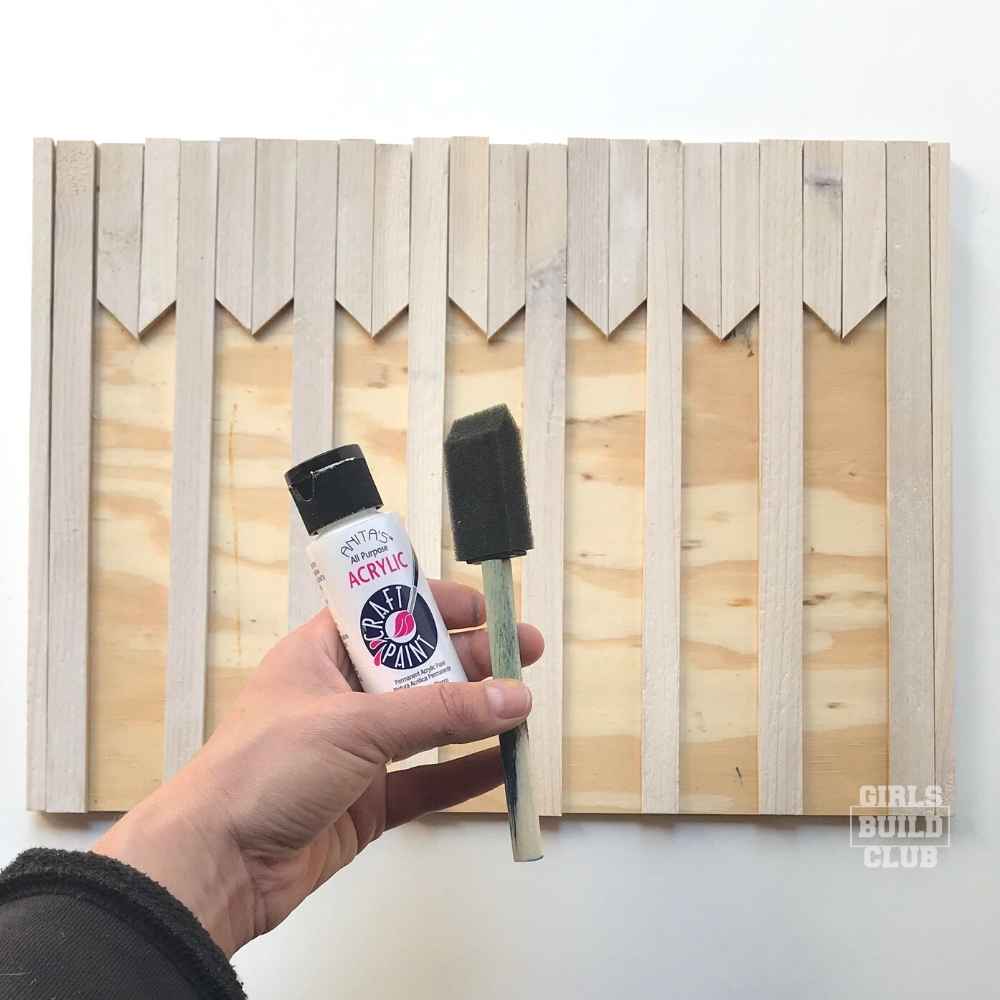
First I painted the background / surrounding pieces with a white wash.
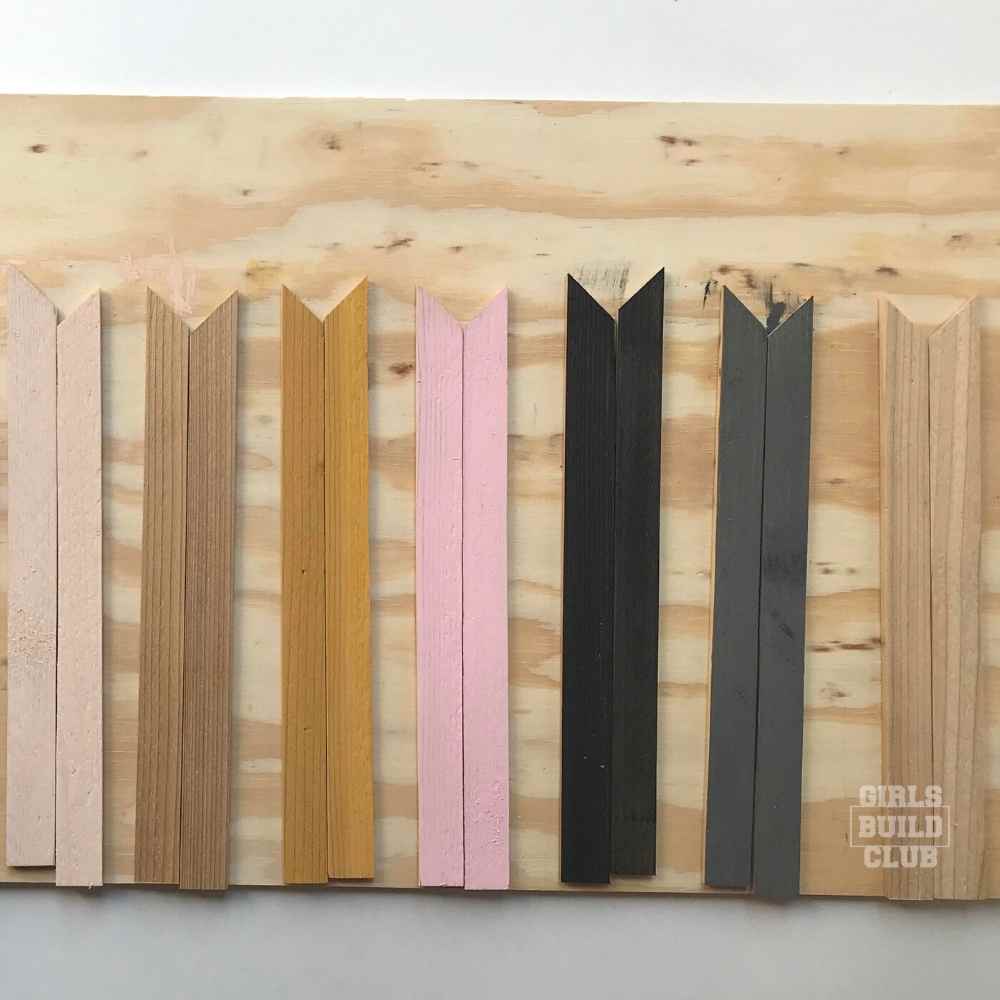
Then I painted the colored strips of wood for the wood mosaic wall art. It’s up to you, but pick out some colors and go to town!
A couple pieces I left in their natural wood tones because it went so well with the peach and yellow tones of paint I selected.
Plus I always want to see at least a little natural wood in my art projects. I don’t want the whole thing painted over.
Wood grain is so pretty!
4. Mark Some Grid Lines on Your Backer Board
This part is very important, and helps you keep your pieces straight.
Otherwise, by the end of you gluing all the pieces down, you’ll step back, take a look and notice everything seems to be slanting a certain way, even though it looked totally straight as you laid it down!
So take a ruler and mark out some lines that you know are totally straight.
Then as you lay down your pieces you’ll be able to adjust as you go, and keep everything super straight!

5. Test Out the Arrangement
Lay out the newly painted strips to make sure you like the order of colors and everything fits together nicely.
If everything looks good, then let’s start gluing these pieces down!
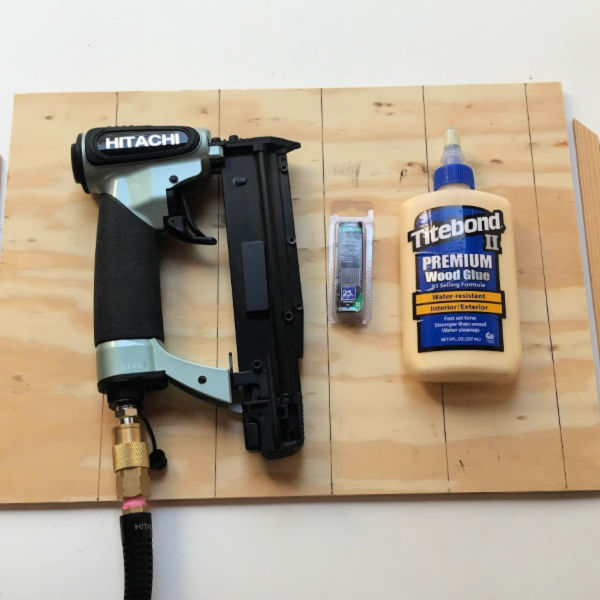
6. Glue and Nail Your Wood Pieces
This is the fun part because your wood mosaic decor starts to come to life!
I glue AND nail the wood strips down to be extra strong and last a long time.
I’ve seen people spread glue all around the back board and then add the wood pieces to it. This is fast and efficient, although you have more opportunity to put too much glue down and have it pop up between your pieces on the surface of your art.
For that reason, I personally like to add the wood glue to the individual pieces of wood. But it is definitely slower.
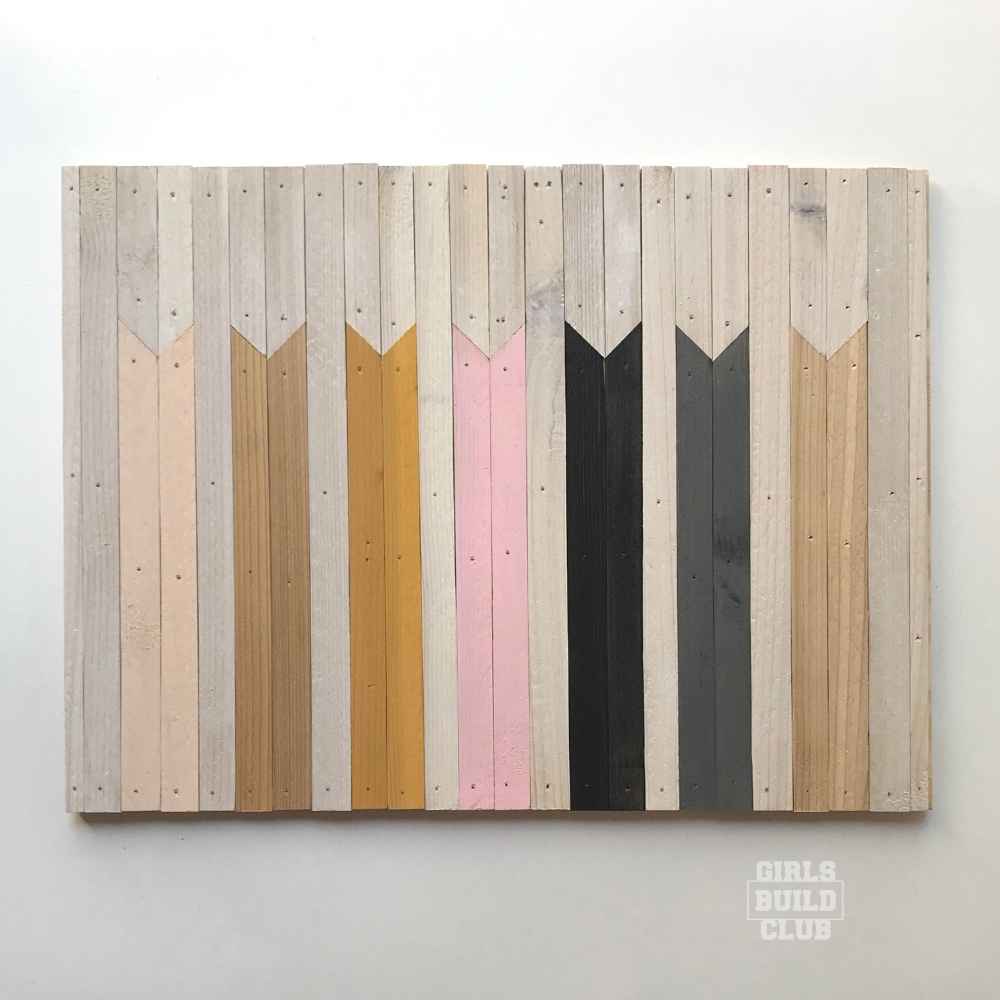
I put a few pieces down with glue, then I go over them and nail them, too.
As you can see the edges are a little uneven, after nailing these strips down. That’s okay! Not only are we going to trim it up, but those edges will be hidden with a frame.
If you haven’t noticed, i’m kind of a stickler for quality craftsmanship. My college art professor taught me that you can have all the talent in the world, but if you don’t execute with excellence you do your art an injustice and it looks lower quality. It is lower quality. That really stuck with me.
Nail guns: If you don’t have a nail gun for your first few mosaics, don’t sweat it. Just start making some mosaics and invest in a nail gun later. You can buy a battery powered version which is quieter and convenient because you don’t have to lug around a heavy compressor. Or you can get a pneumatic nail gun which is powered by pressured air via an air compressor. That’s what I have! It’s lightweight in your hand, because it doesn’t have a heavy battery attached. The compressor can be pretty loud when it’s filling the tank, though. But that doesn’t happen constantly.
There are pros and cons to each. I love my air nail gun, but I also want a batter powered one for convenience sake.
7. Trim Up the Edges
Did you notice how the strips gave me an uneven edge around the plywood board?
No big deal!
I trim those edges on my table saw. Or you can clamp a straight edge to the board and run a circular saw over the edge.
Either way, it’s easy to get your edges perfect again. I usually build my wood mosaics on a board that’s quite a bit too big to make the trimming up part easier on a table saw.
If you are using a circular saw to trim up the edges then you don’t need the board to be bigger.
8. Brush On a Protective Clear Coat
I like Minwax Polycrylic for my mosaics. It’s water-based, so it’s not too smelly, and it dries pretty fast!
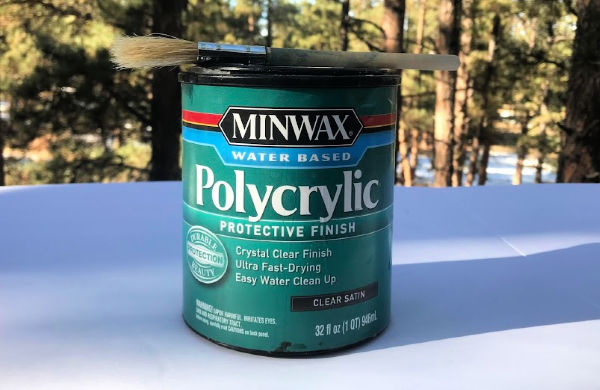
Polycrylic doesn’t make your art waterproof, but it does give it a nice satin sheen and some protection from light moisture.
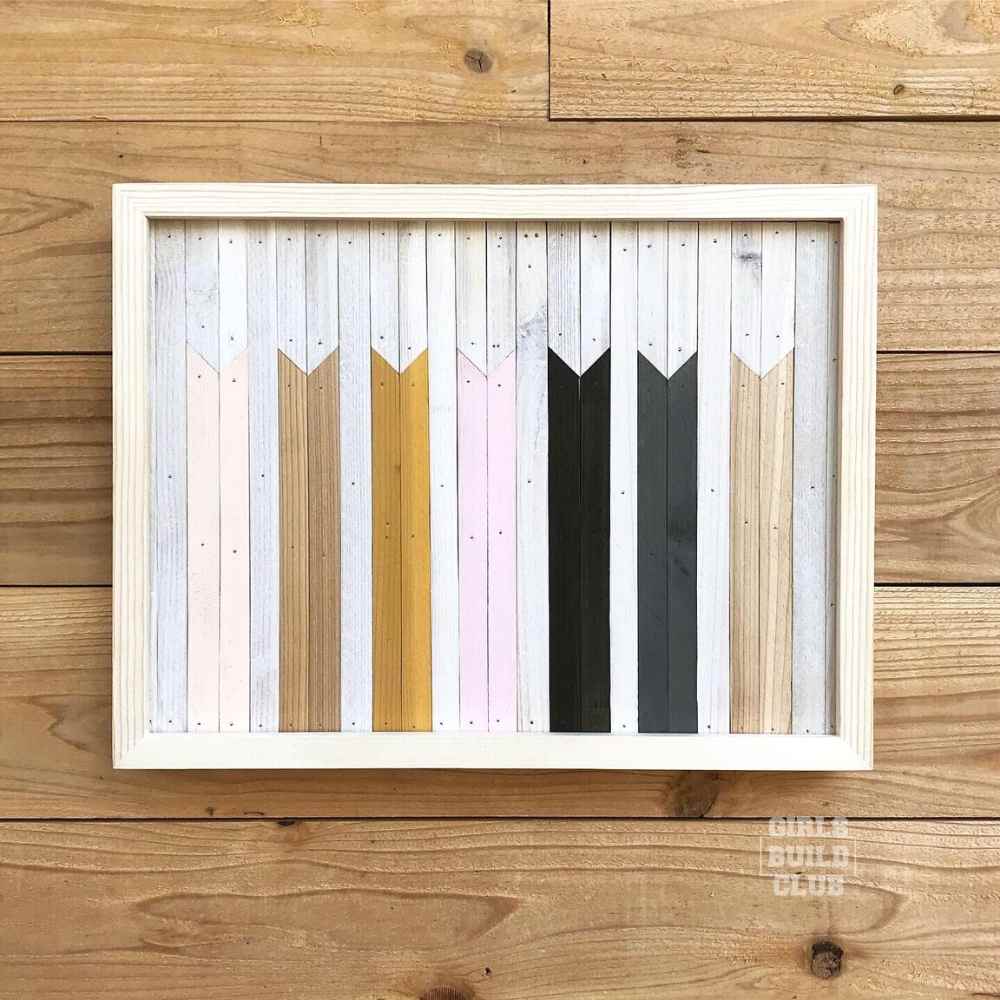
9. Frame It Up!
You can add a frame, go for the unfinished/natural edge look, or build your own frame.

The frame in this photo is one I actually bought. It’s hard to find frames that are deep enough to accommodate a plywood board!
I usually make my own frames, and I’ll show you how in another tutorial, coming soon.
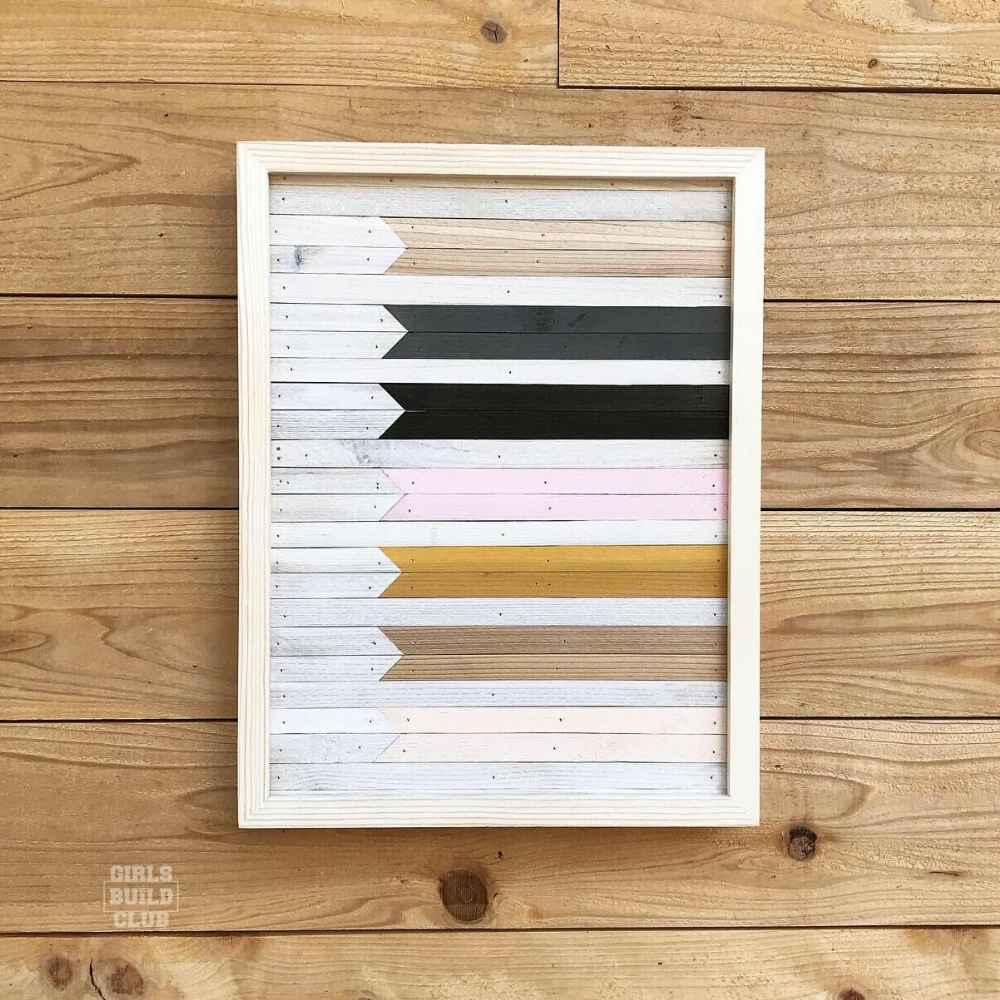
10. Put Your New Wood Mosaic Wall Art on Display!
Hang it on your wall, or sit it on a shelf, and show off your hard work!
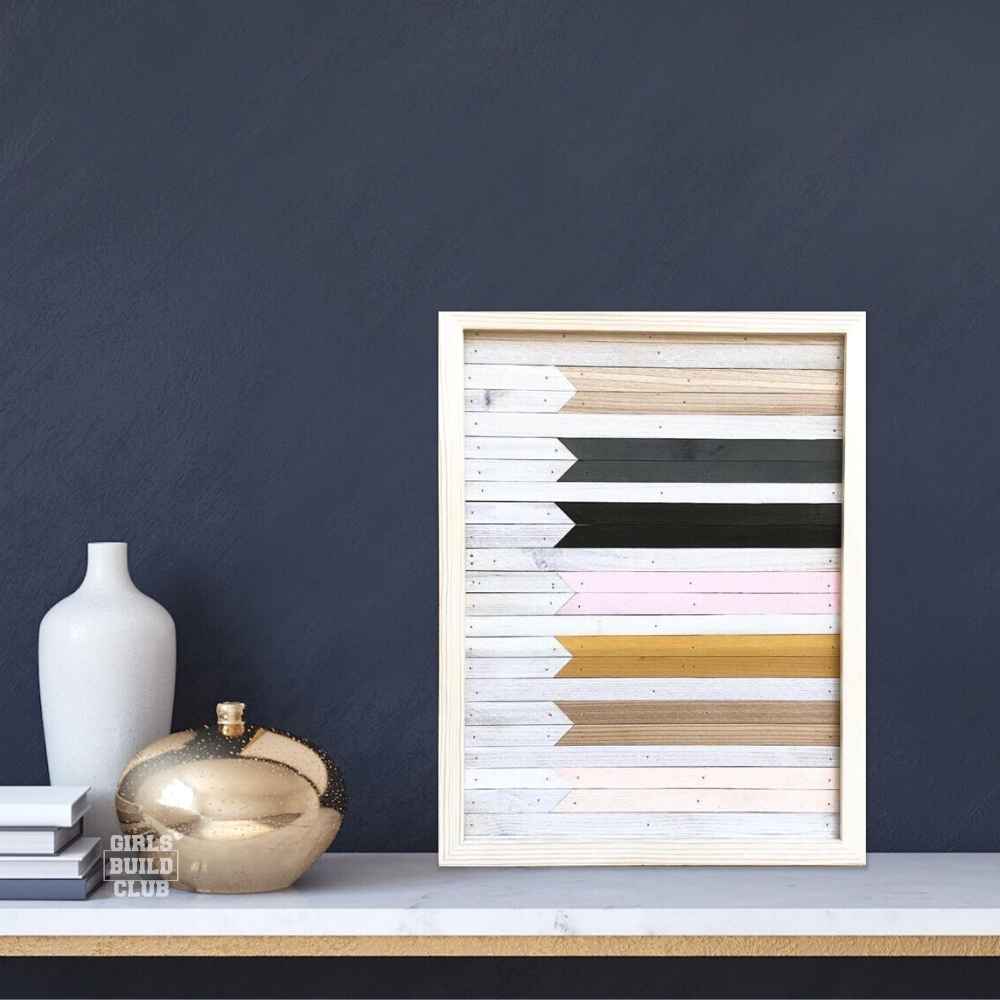
This particular wood mosaic looks great vertical or in horizontal layout. Which do you prefer?
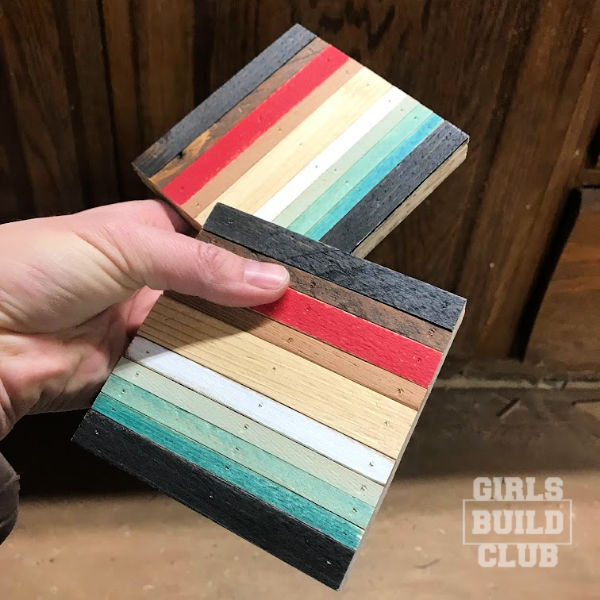
11. If You Want to Start Simpler
I have another, even easier, simple mosaic project if you’d like to start smaller before attacking this one.
There are no angled cuts, and you’ll basically be making a little mosaic the size of a drink coaster.
Check out the even simpler mosaic tutorial here: https://www.girlsbuildclub.com/simple-wood-mosaic-diy/
Or click the image below to visit the post:
Want More Projects Like This?
Sometimes I even put up these pieces as a free giveaway! So if you want one you can get first dibs by staying in touch.
You’ll be the first to know when I post a new DIY project or free printable.
Leave a Reply